
Setting up your BBPOS WisePOS™ E card reader on TripWorks is a straightforward process. Follow these steps to ensure your card reader is correctly configured and ready for use.
Need a card reader?
Reach out to support@tripworks.com to place an order. For more information regarding equipment, check out our article on Recommended Software & Hardware.
How to Set Up The Card Reader
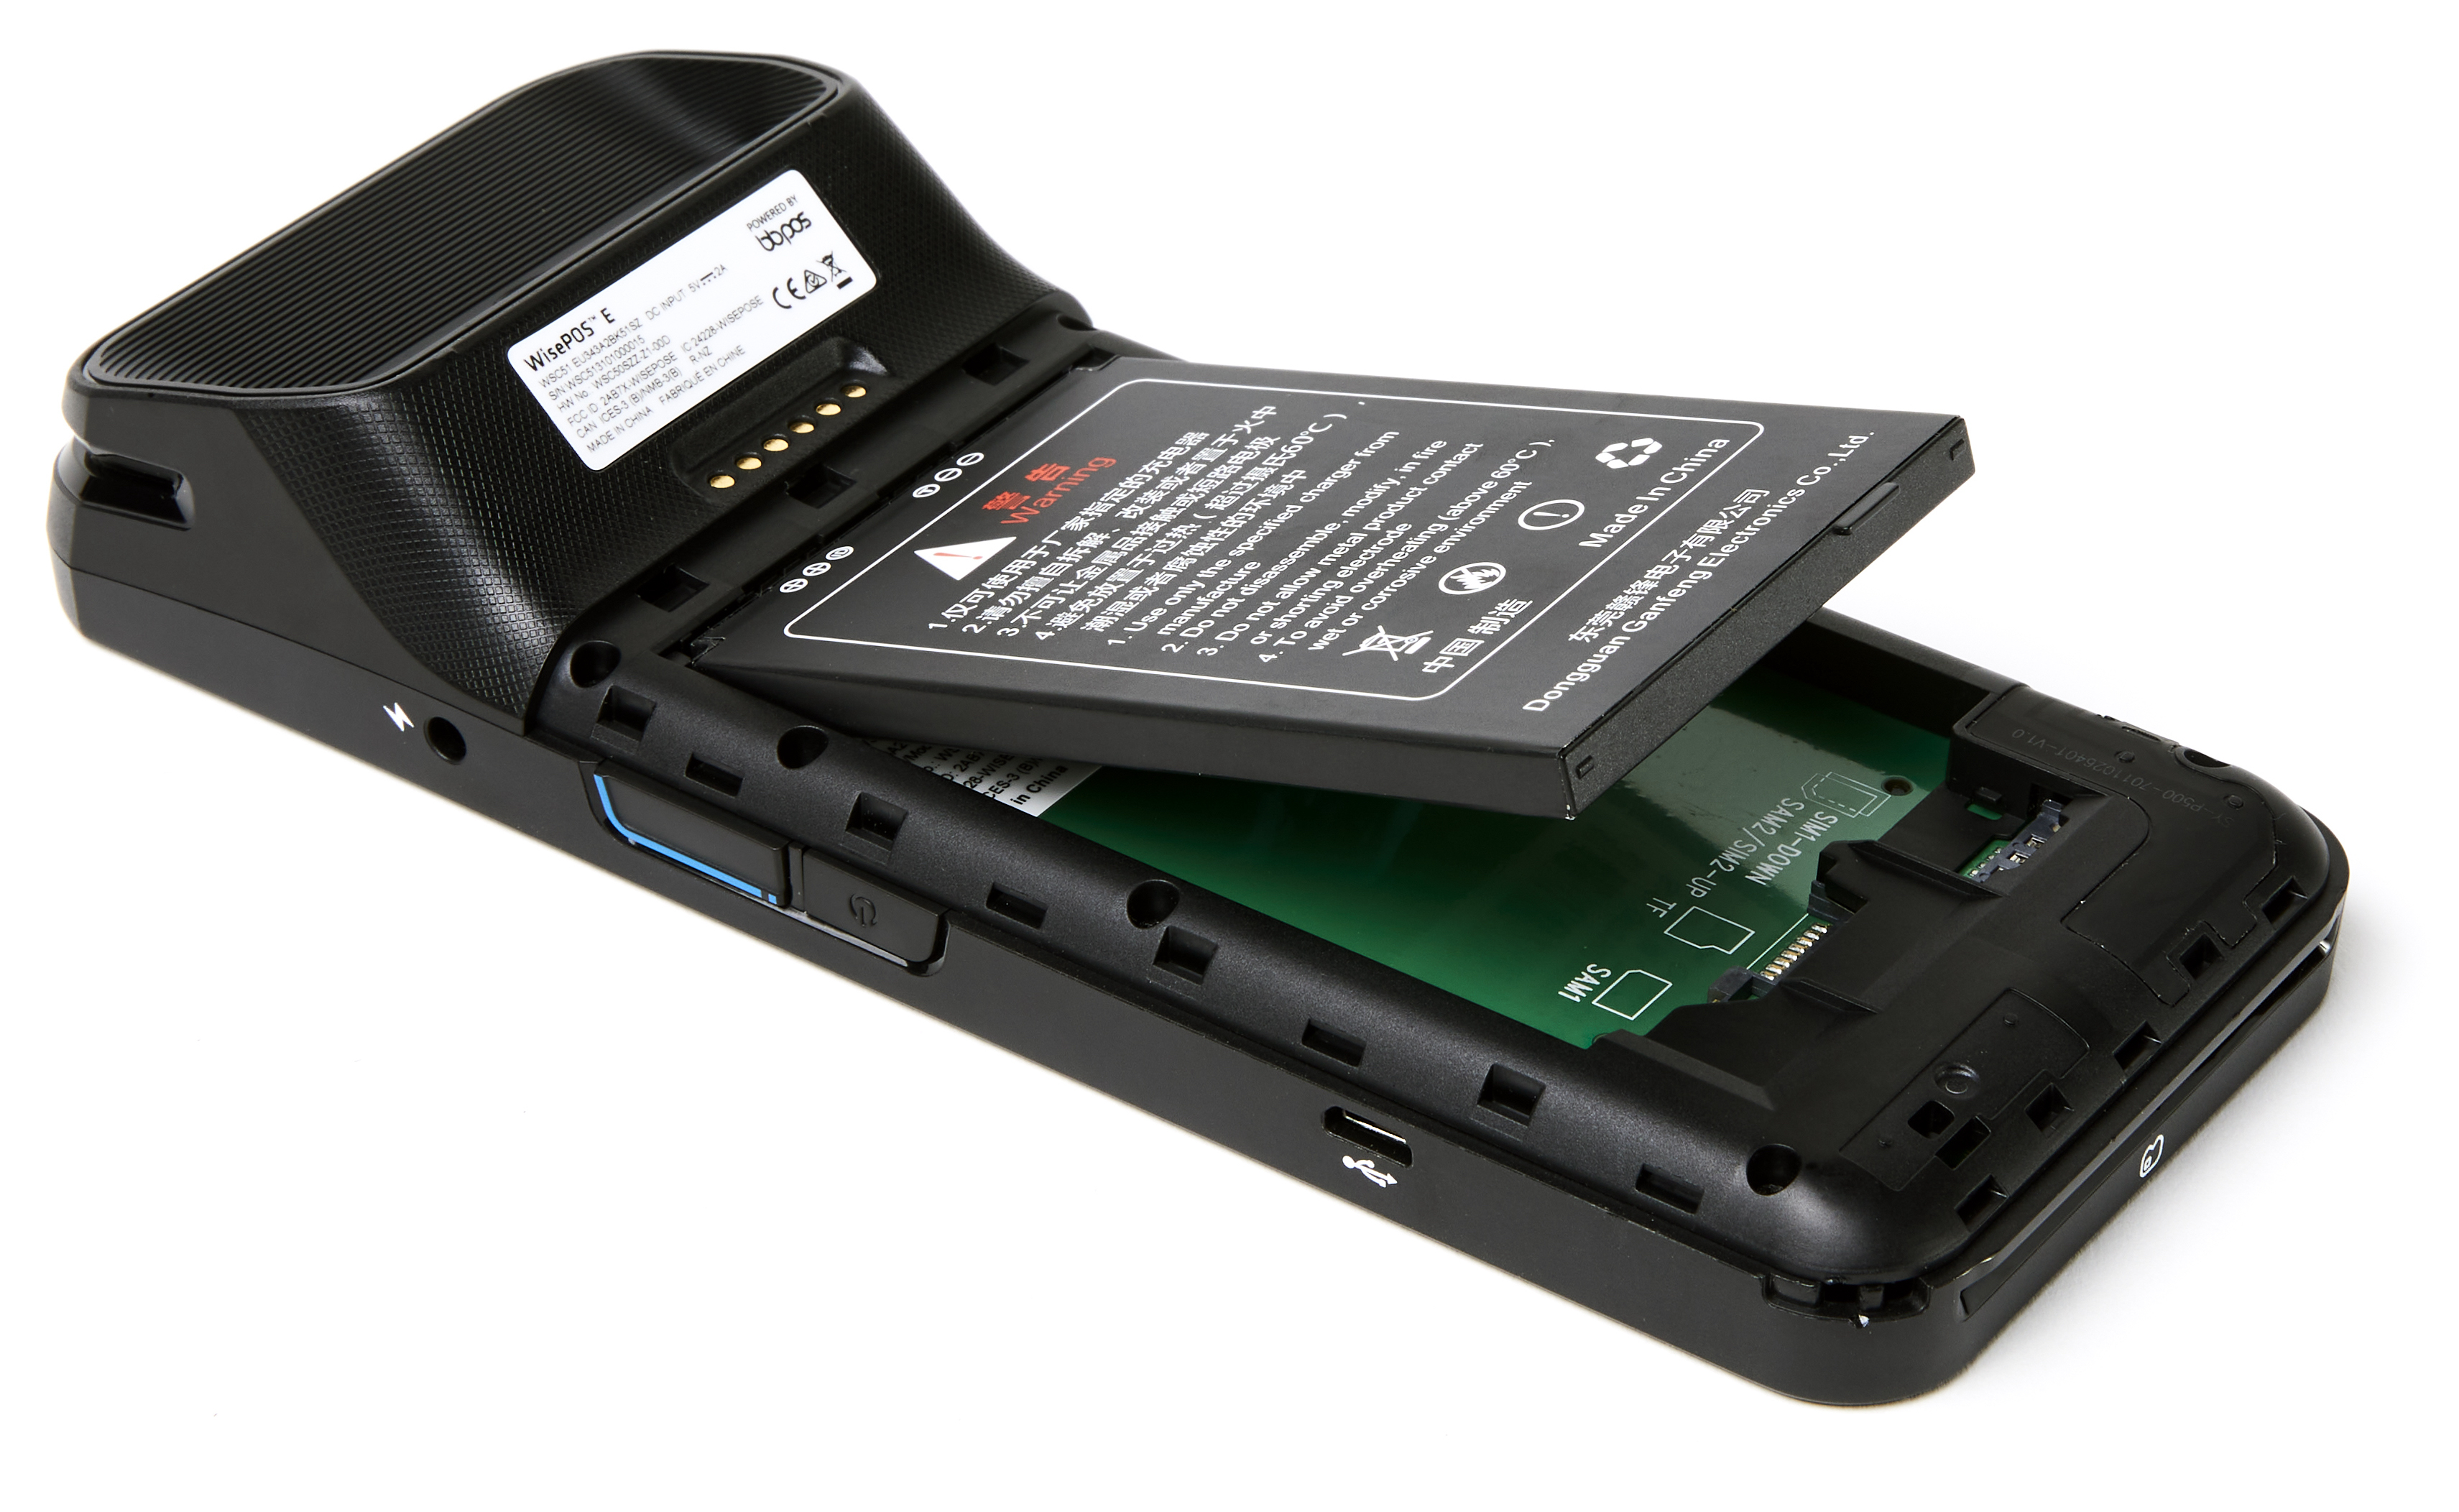
Step 1: Install the battery
When you receive the card reader, install the battery into the back of the reader
(via stripe.com)
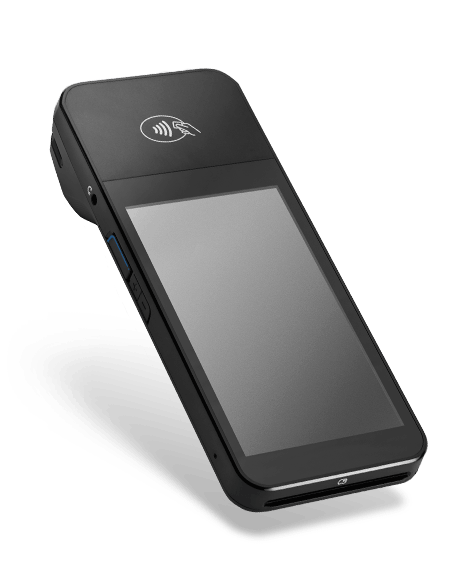
Step 2: Power on the reader
On the right side of the reader, select the power button and hold it down until the screen turns on.
The charging port is also on the right side of the reader (pictured below). If your reader is out of battery, plug it in to the charging port provided in the box.

(via stripe.com)
Step 3: Connect to Wi-Fi
You should be prompted to connect to a Wi-Fi network. This must be a password-protected network and the same network your device is on (the device in which you use to operate the TripWorks platform).
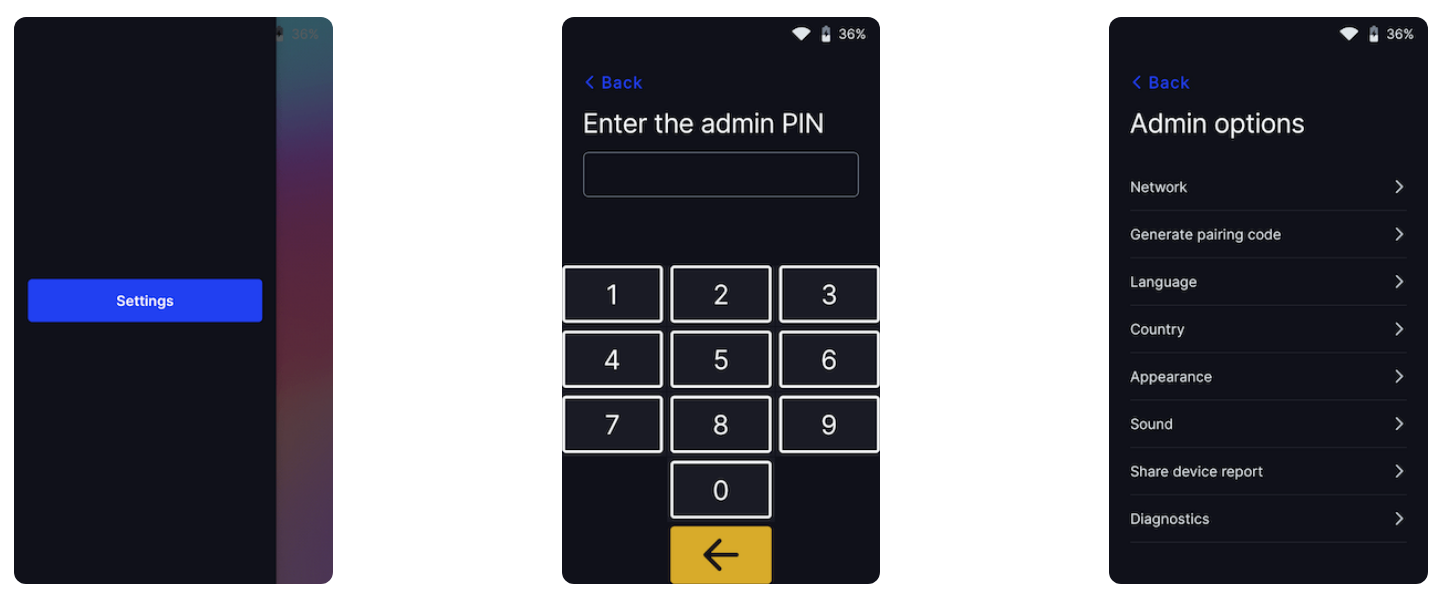
If you are not prompted to do so, access the Settings menu by swiping to the right > entering the admin pin #07139 > selecting Network
(via stripe.com)
Step 4: Find your pairing code
You may see the pairing code appear on the screen, but if not, access the Settings menu by swiping from left to right > entering the admin pin #07139 > selecting Generate Pairing Code.
The pairing code will be three words with dashes in between, for example: run-jump-skip
Step 5: Add the reader to your account
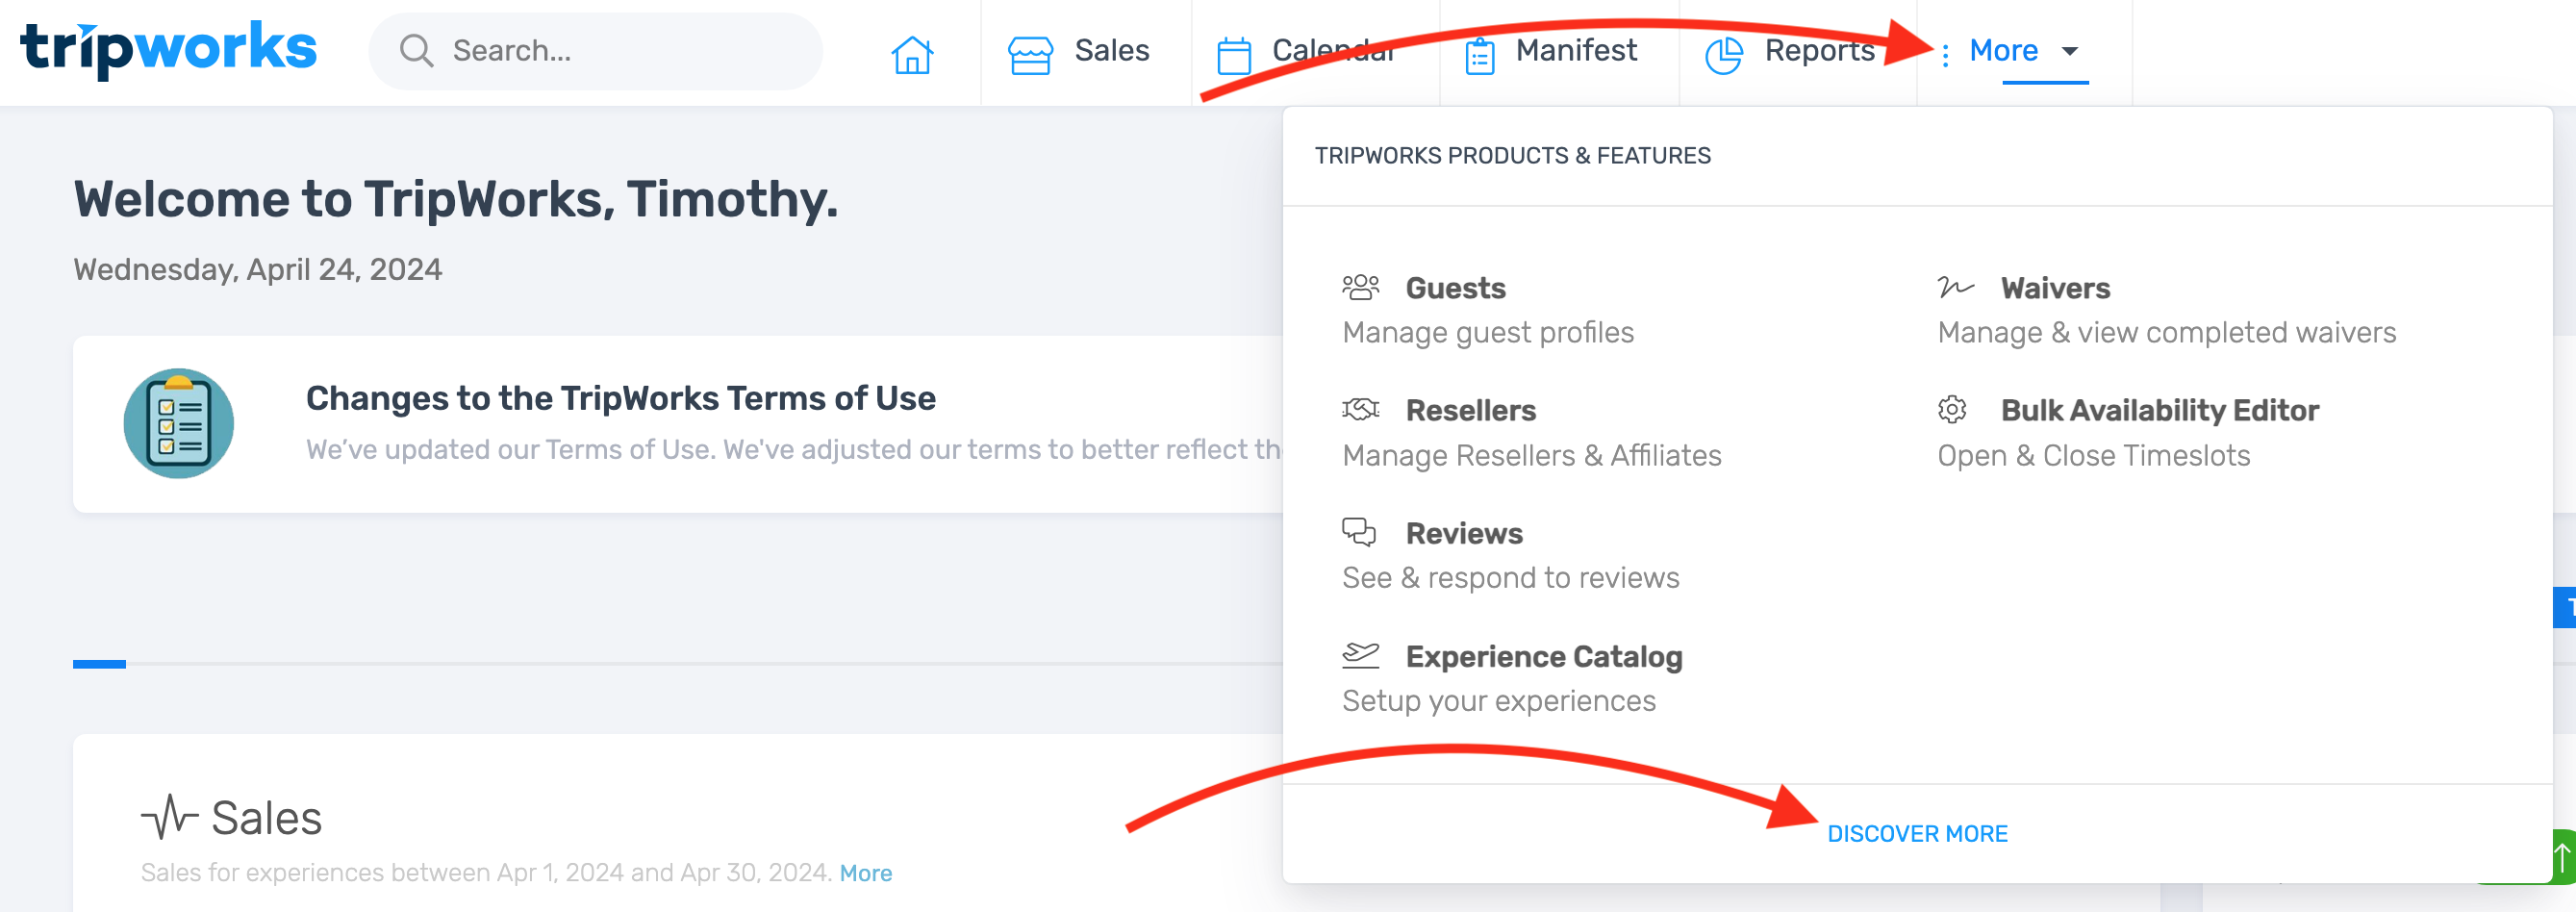
- From within your TripWorks dashboard, select More > Discover More from the toolbar
- Select Card Readers
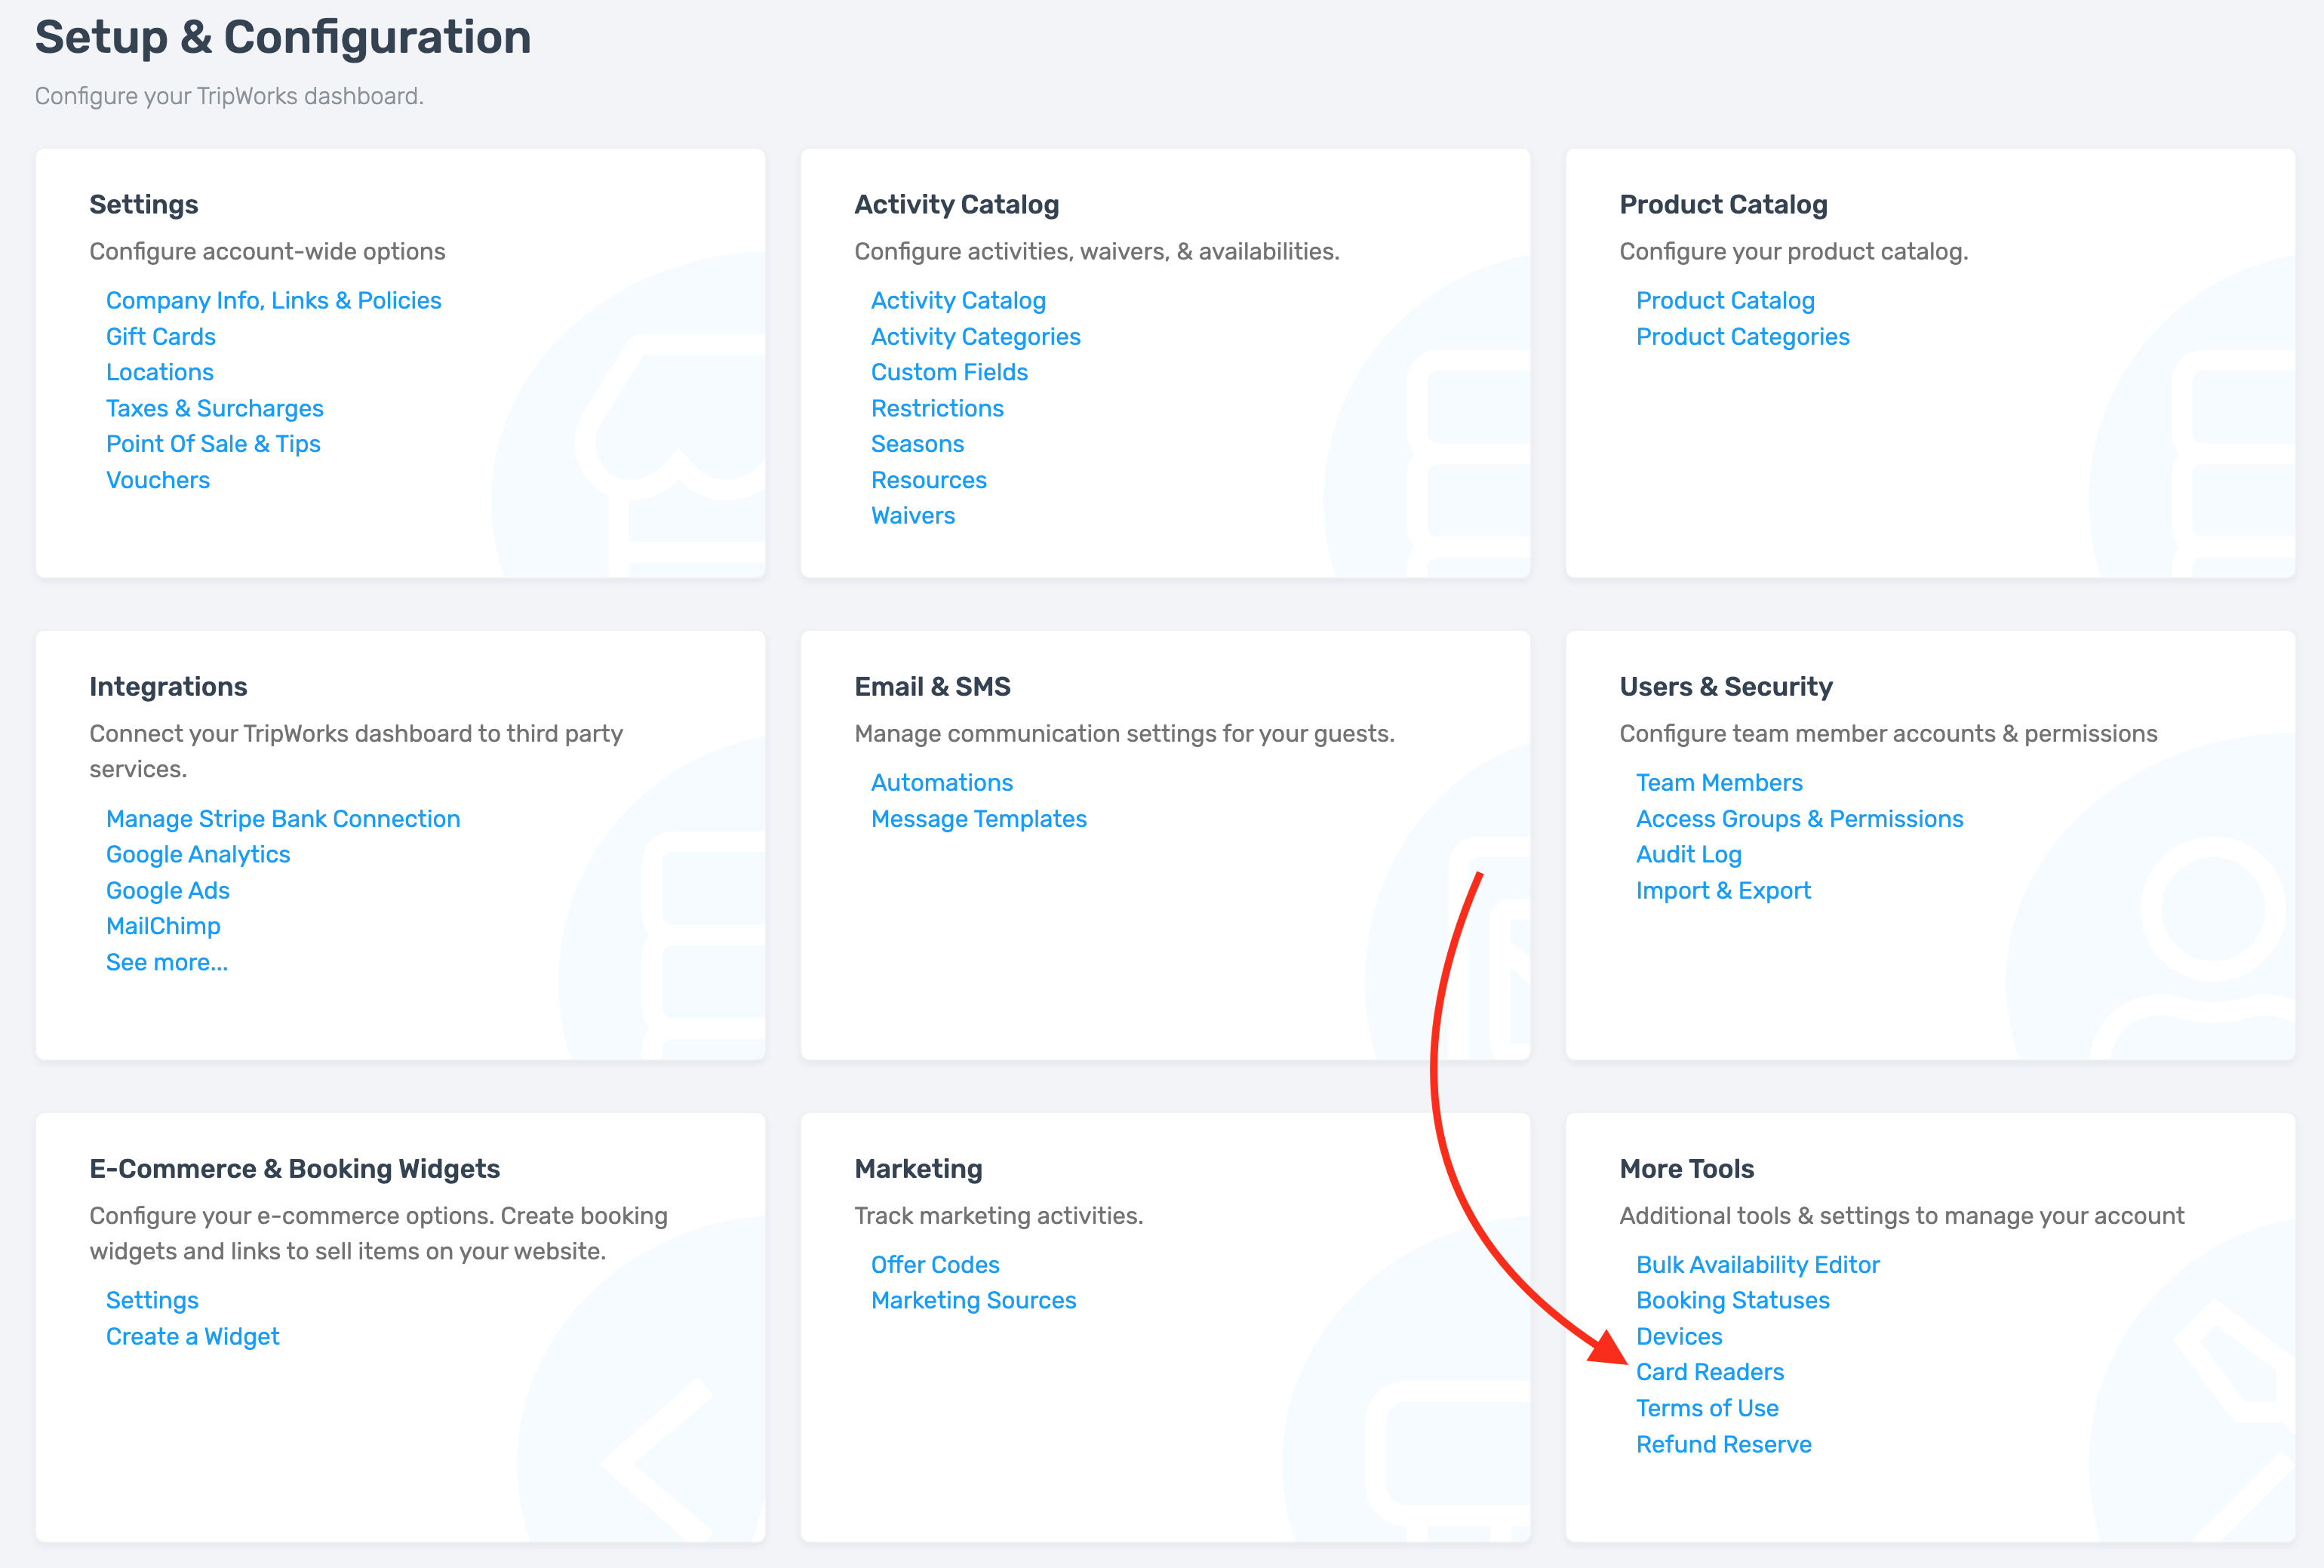
- Choose Add Card Reader

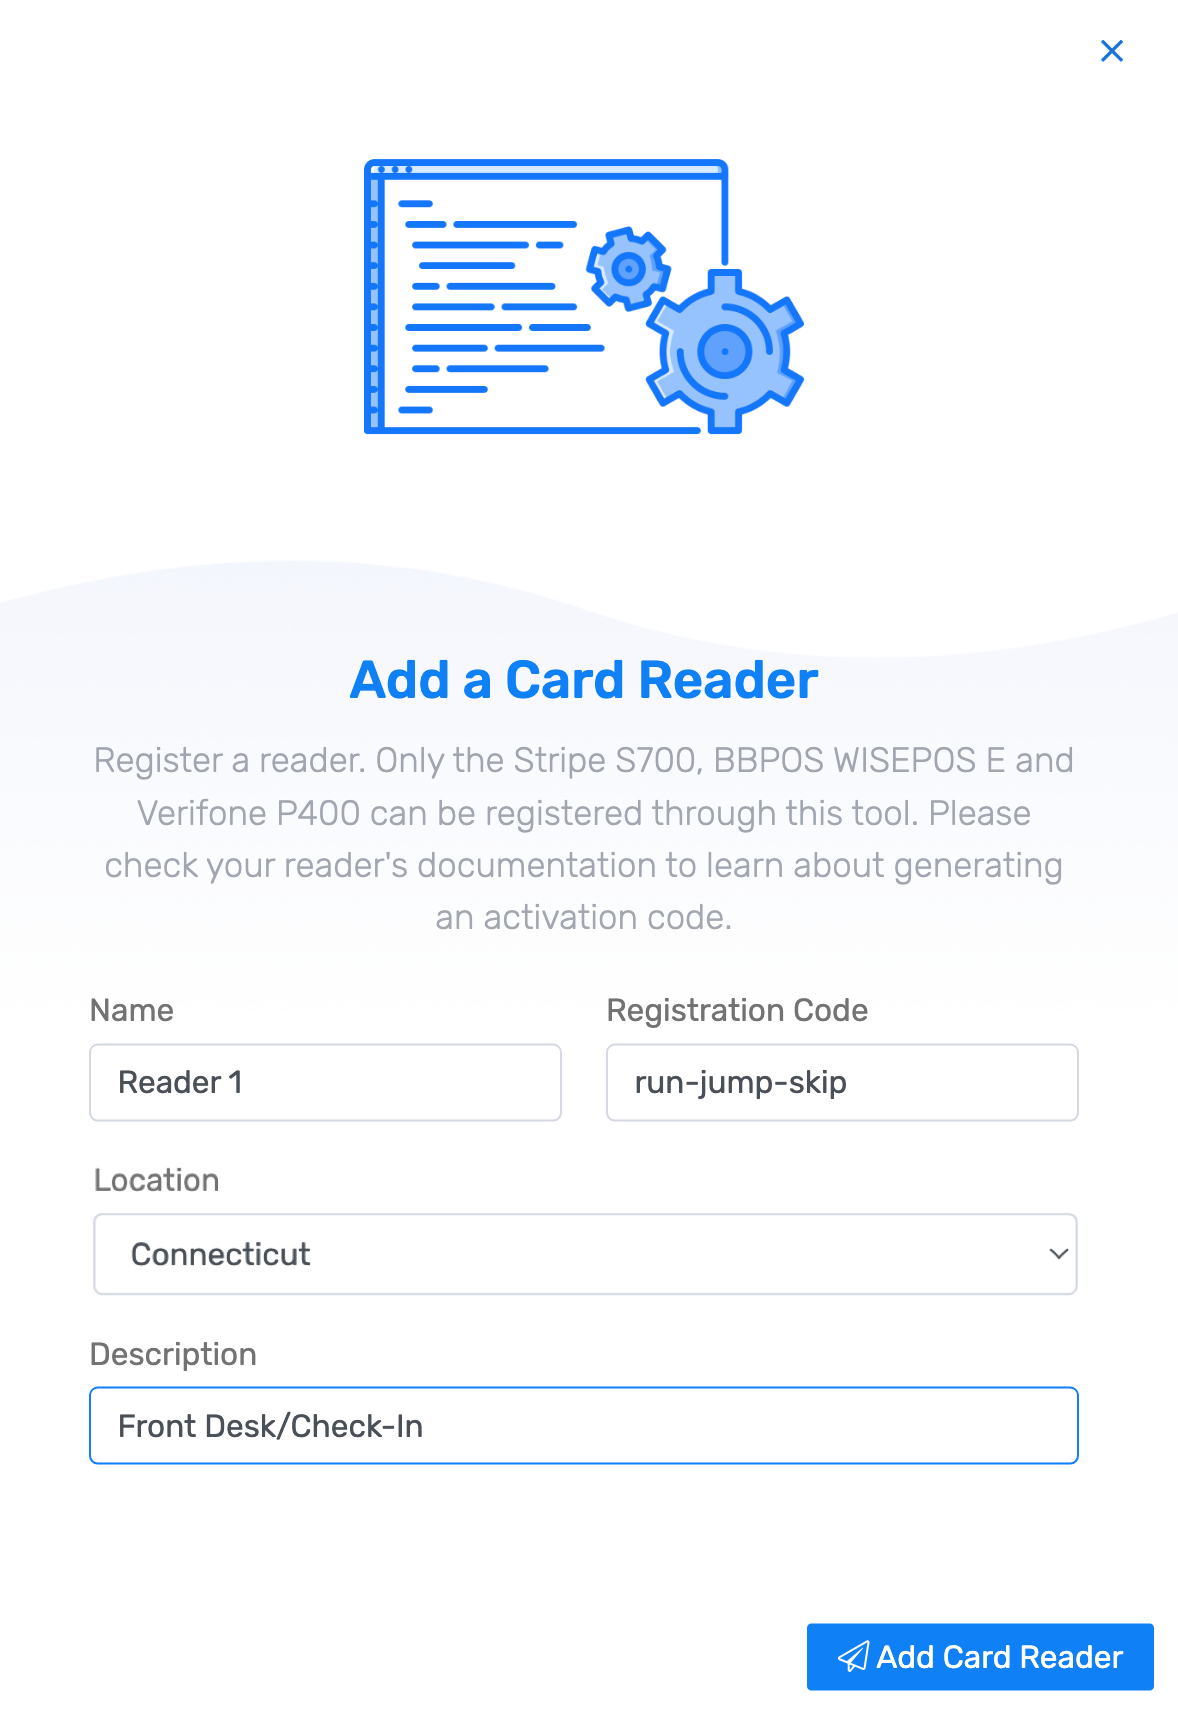
- Add a Name for your card reader. This can be helpful when you have multiple devices
- Enter the Registration Code
- Select a Location. By default, it will display the first location added to the account; If you have multiple, select a different one from the dropdown menu
- Add a Description. For example “Front Desk” or “Check-In Area”
- Select Add Card Reader
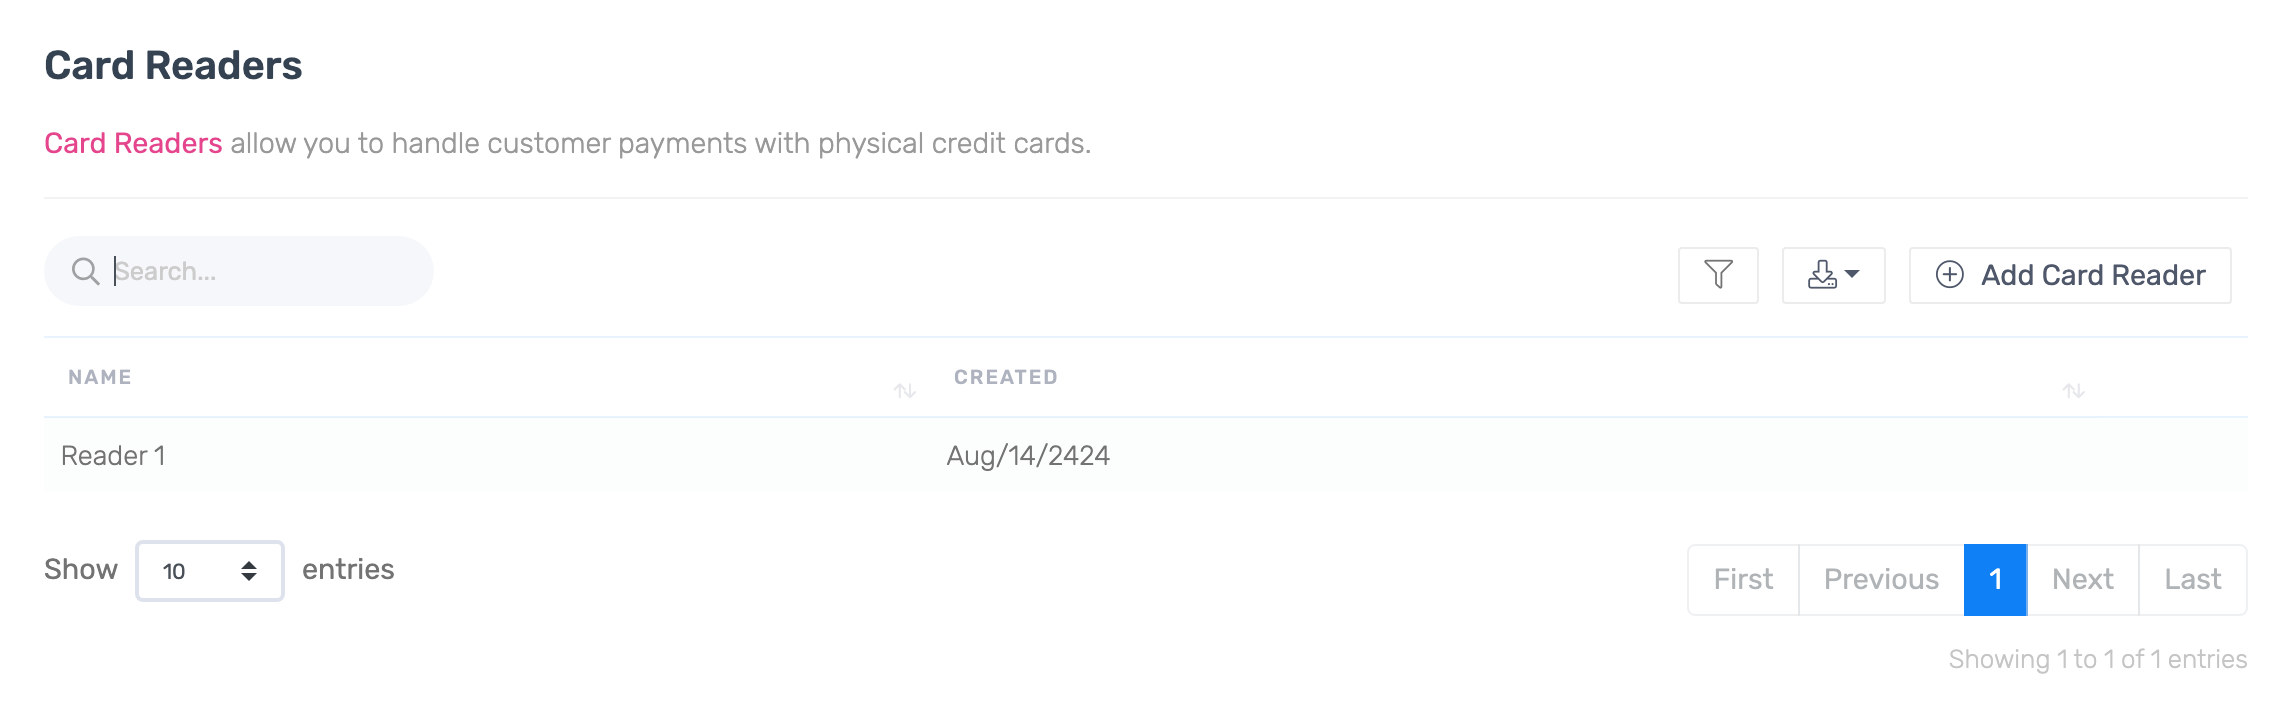
- You will then see your card reader added to your account
Step 6: Test your reader
Once your reader is configured, you may see it update again. Once updated it's time to test your reader.
- Select the "Sales" tab from within your dashboard

- Select any trip with a balance due. If there are no trips with an outstanding balance, create a new walk-up trip or Point of Sale order before proceeding
- From within the trip or product order, choose Payments

- Select Payment
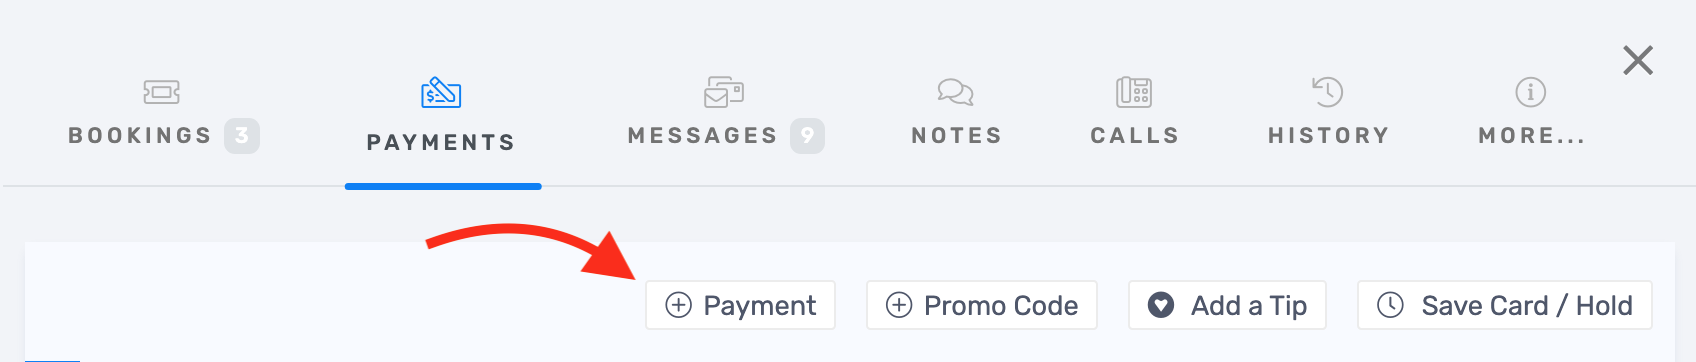
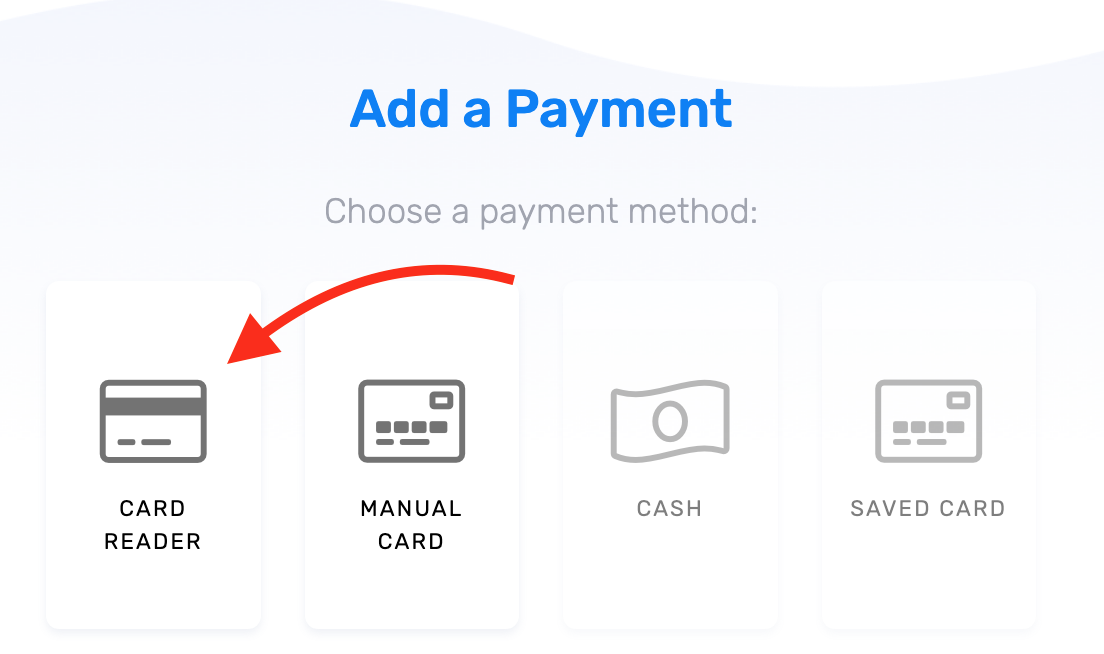
- Select "Card Reader" to send a payment prompt to the reader
- Ensure the payment prompt appears on the reader, confirming it can communicate with the device
- Once confirmed, cancel the prompt by clicking "X" on the payment prompt inside your dashboard
And that's it! Your reader is now configured for payment processing on TripWorks.