Creating a specific email template for receipts is a great way to ensure that your communication with guests remains professional and consistent. Since receipt messaging is a bit different from other types of emails, having a dedicated template allows you to focus on delivering key details, such as payment confirmation and booking information. With a ready-to-use receipt template, it’s quick and easy to select the option from within the trip and send it directly to the guest.
How to Create a Receipt Message
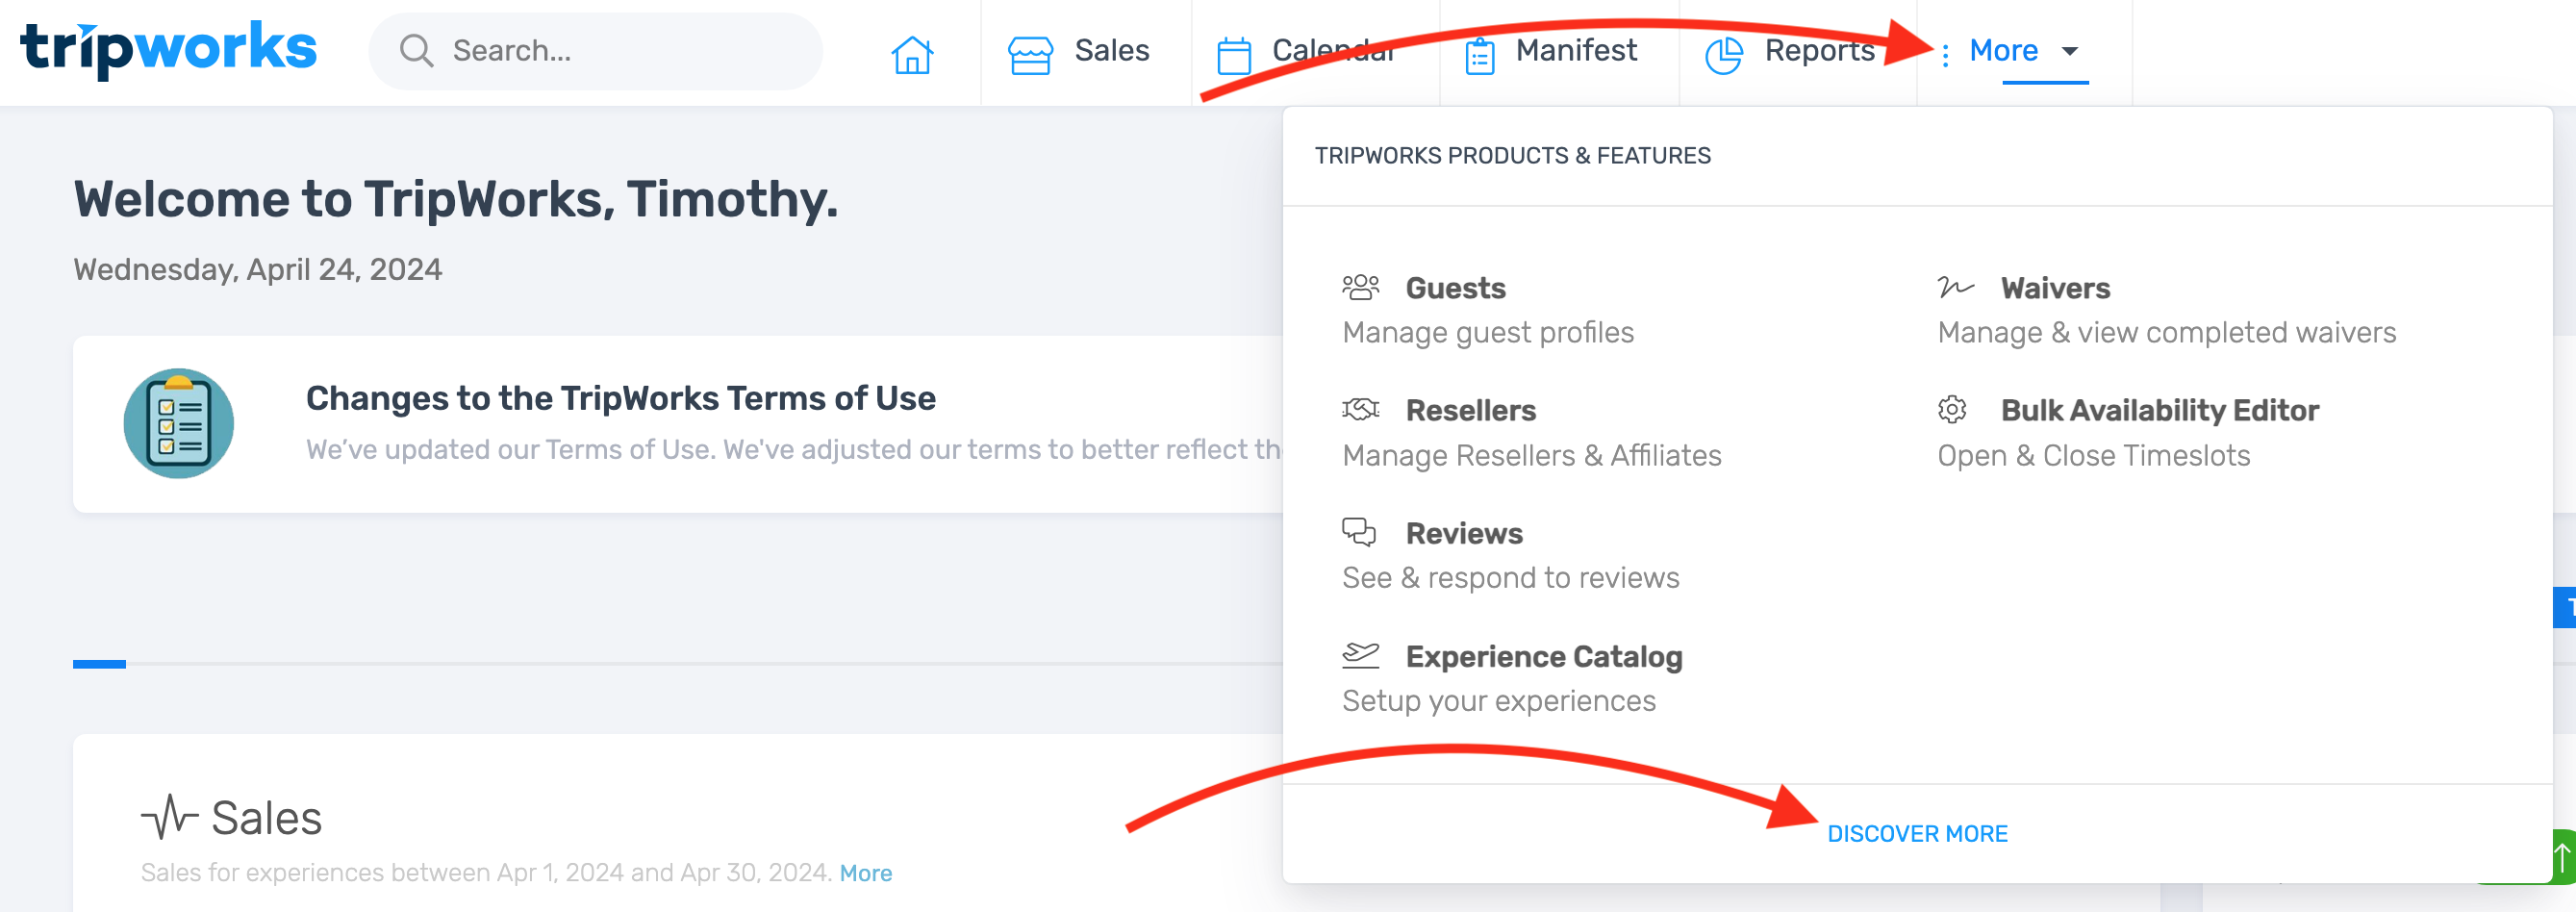
- From the toolbar, select More > Discover More

- Choose Message Templates

- Choose the New Template button

-
In the Create a Template dialogue box:
- Give the template a fitting name, such as “Receipt”
- Select User Defined Message from the Category dropdown menu

- Choose Create
-
Add the appropriate copy to your template and fill in any other desired fields. The recommended merge tags for a receipt email include the Order Detail Block and Payment Ledger Block. For more information on customizing your email template, refer to the guide on Editing an Email Template

- Select Save
Next Steps