
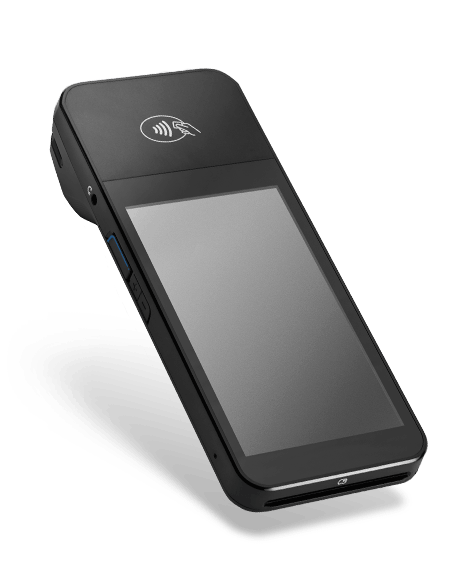
The BBPOS WisePOS™ E is a countertop card reader that connects to TripWorks over Wi-Fi. Setting it up takes about ten minutes and requires access to the same password-protected Wi-Fi network your TripWorks device uses.
To order a card reader, contact support@tripworks.com. For a full list of compatible hardware, see Recommended Software & Hardware.
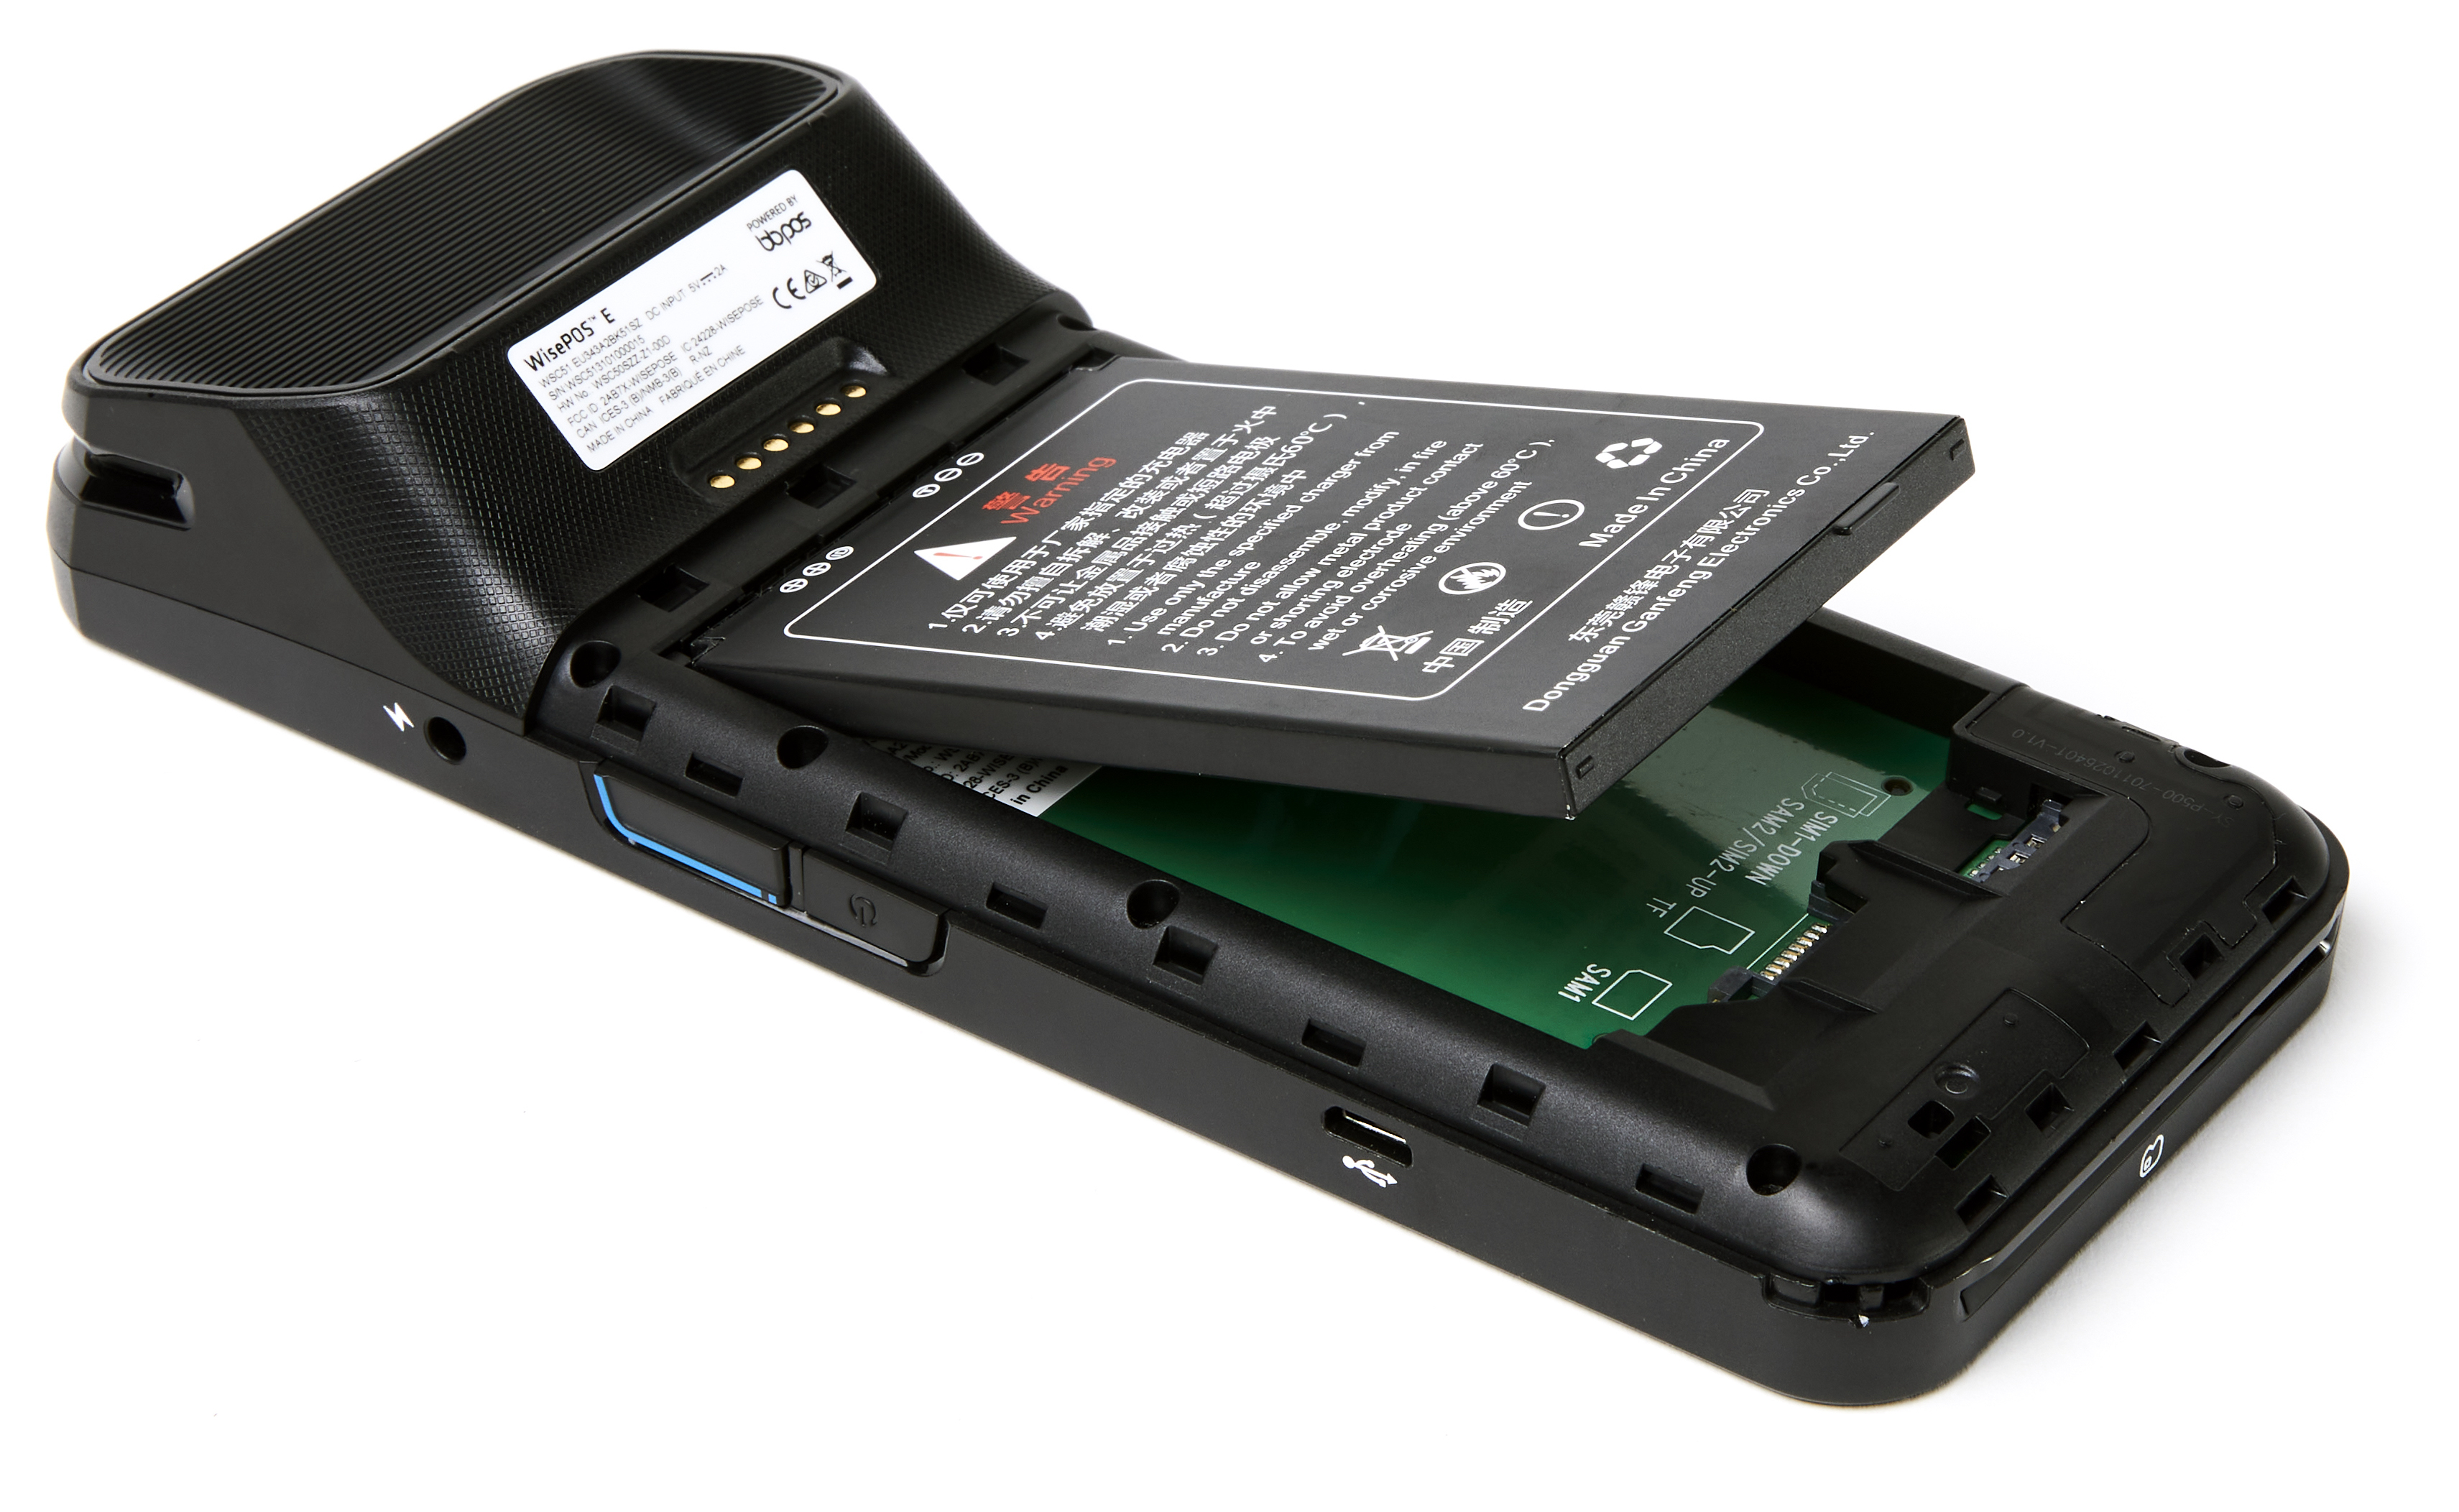
Step 1: Install the battery
When you receive the reader, insert the battery into the compartment on the back.
Step 2: Power on the reader
Hold the power button on the right side of the reader until the screen turns on. The charging port is also on the right side — if the battery is depleted, charge it before continuing.

Step 3: Connect to Wi-Fi
The reader will prompt you to connect to a Wi-Fi network on first boot. Select the same password-protected network your TripWorks device uses — the reader and device must be on the same network.
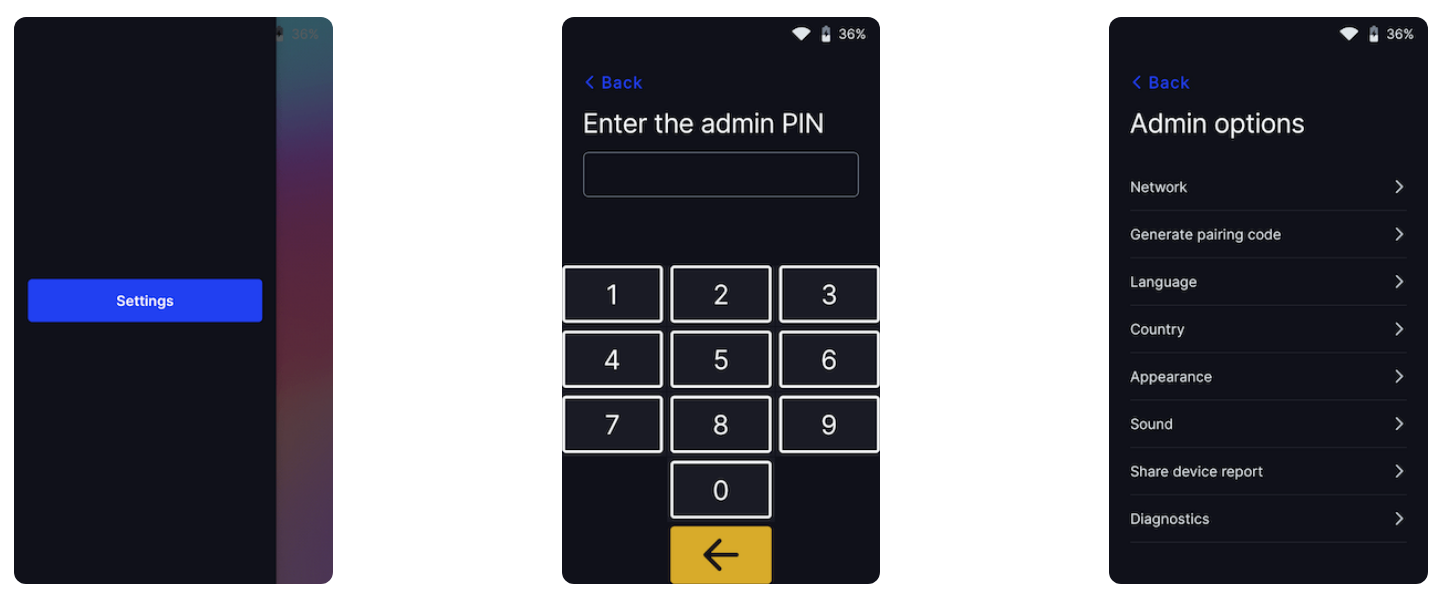
If the prompt doesn't appear, open Settings manually: swipe right on the reader screen, enter the admin PIN #07139, then select Network.
Step 4: Find your pairing code
The pairing code may appear automatically on the screen. If not, open Settings by swiping right, entering PIN #07139, then selecting Generate Pairing Code.
The code is three words separated by dashes — for example: run-jump-skip. Keep this visible while completing the next step.
Step 5: Add the reader to your account
- From your TripWorks dashboard, select More > Discover More from the toolbar.
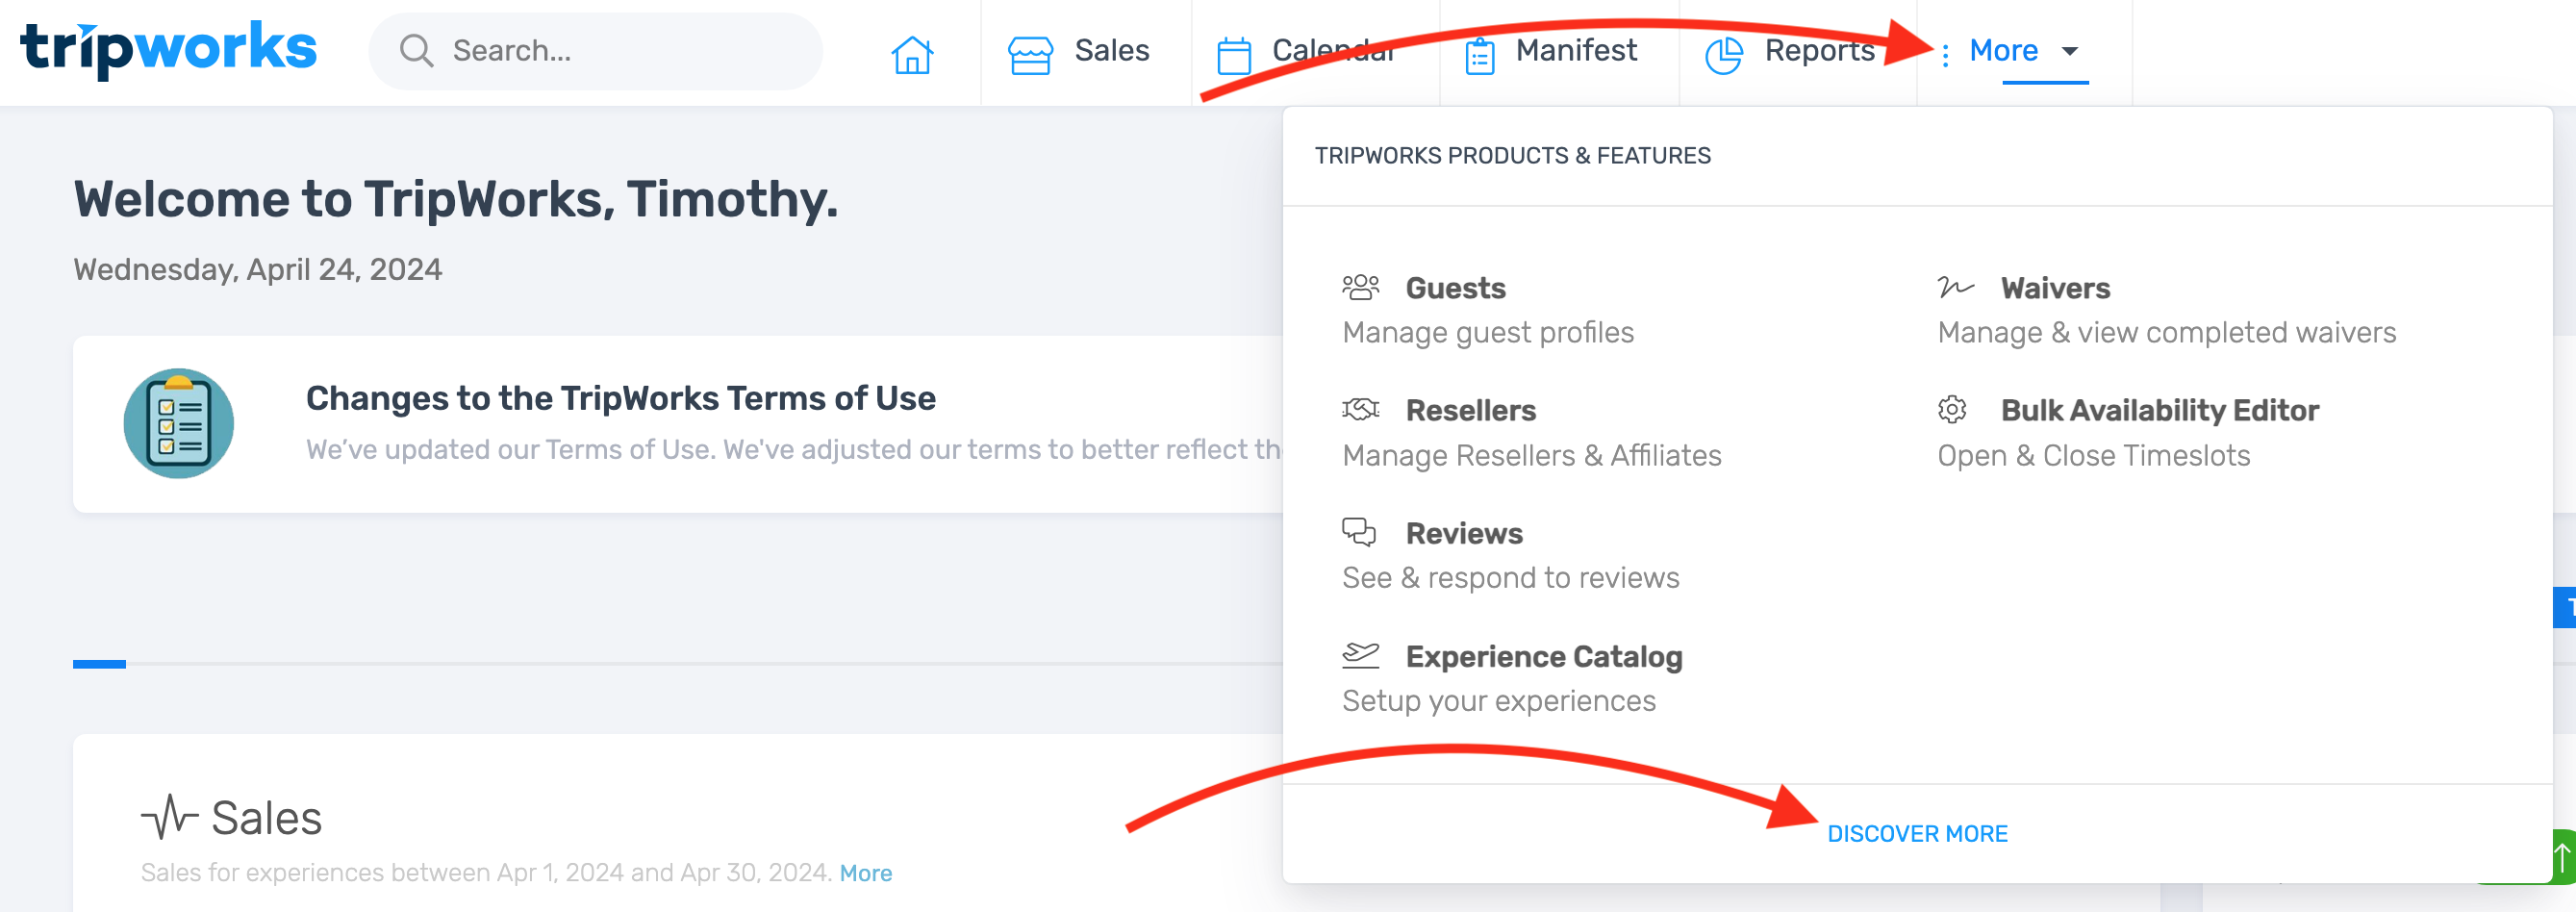
- Select Card Readers.
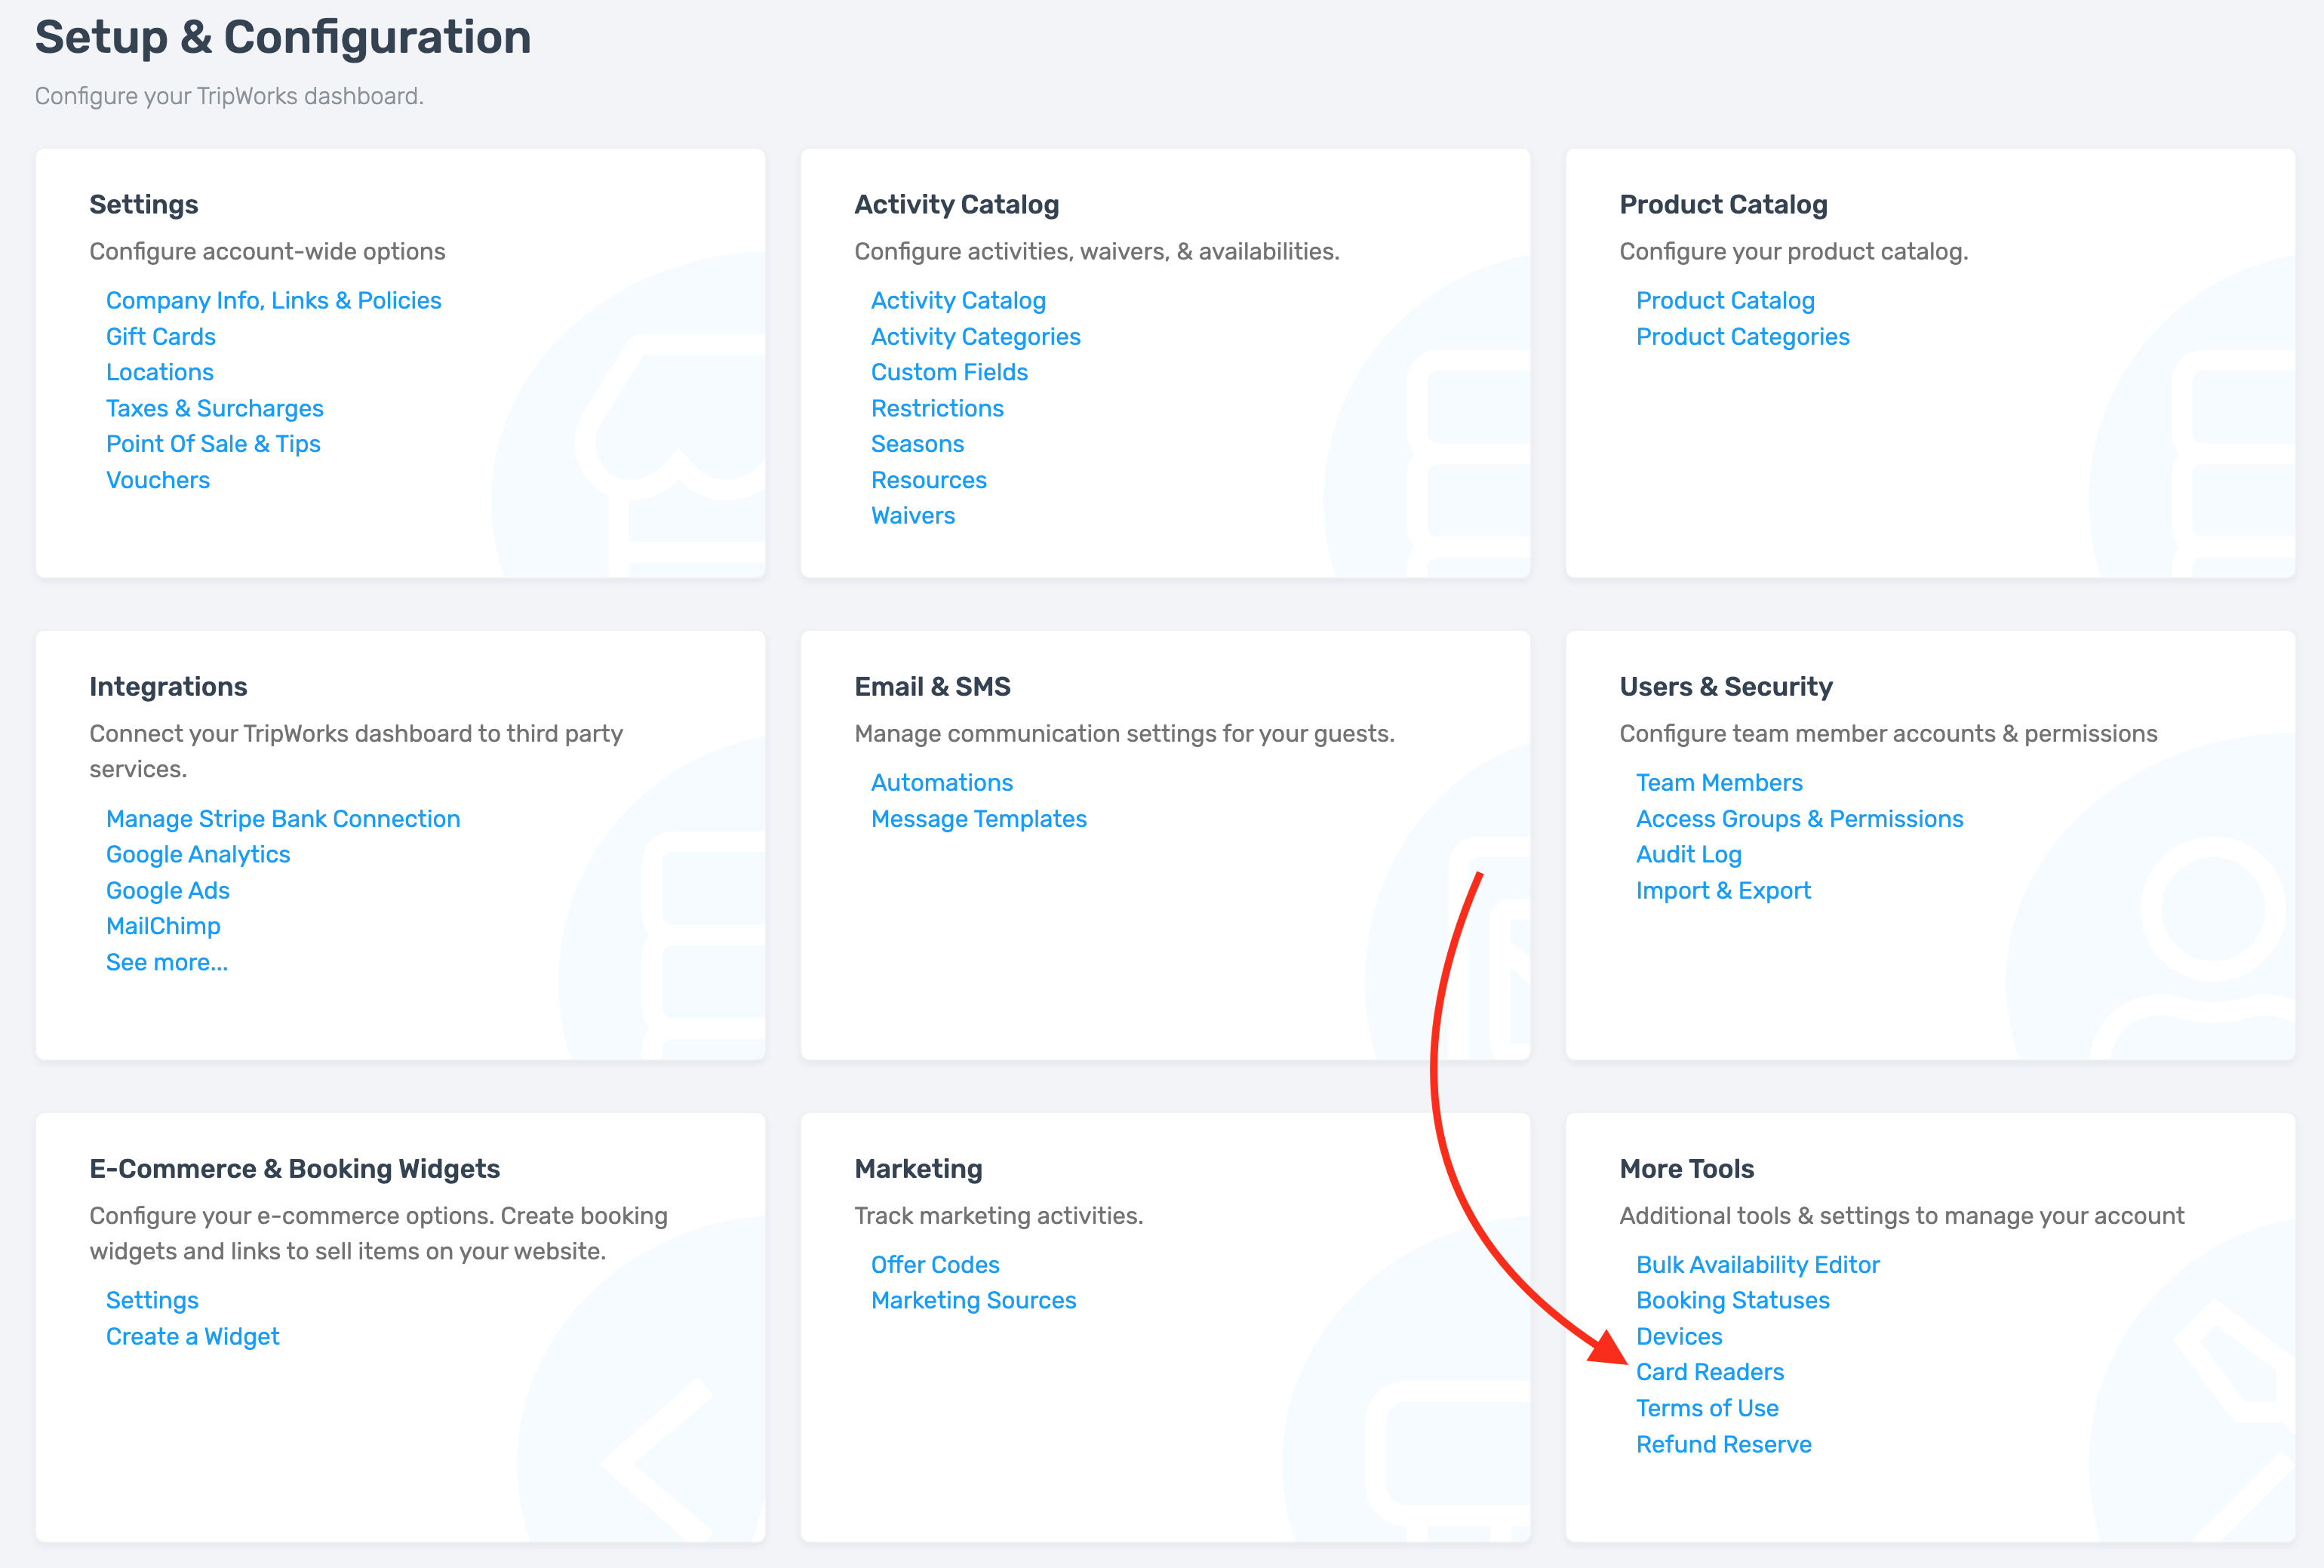
- Select Add Card Reader.

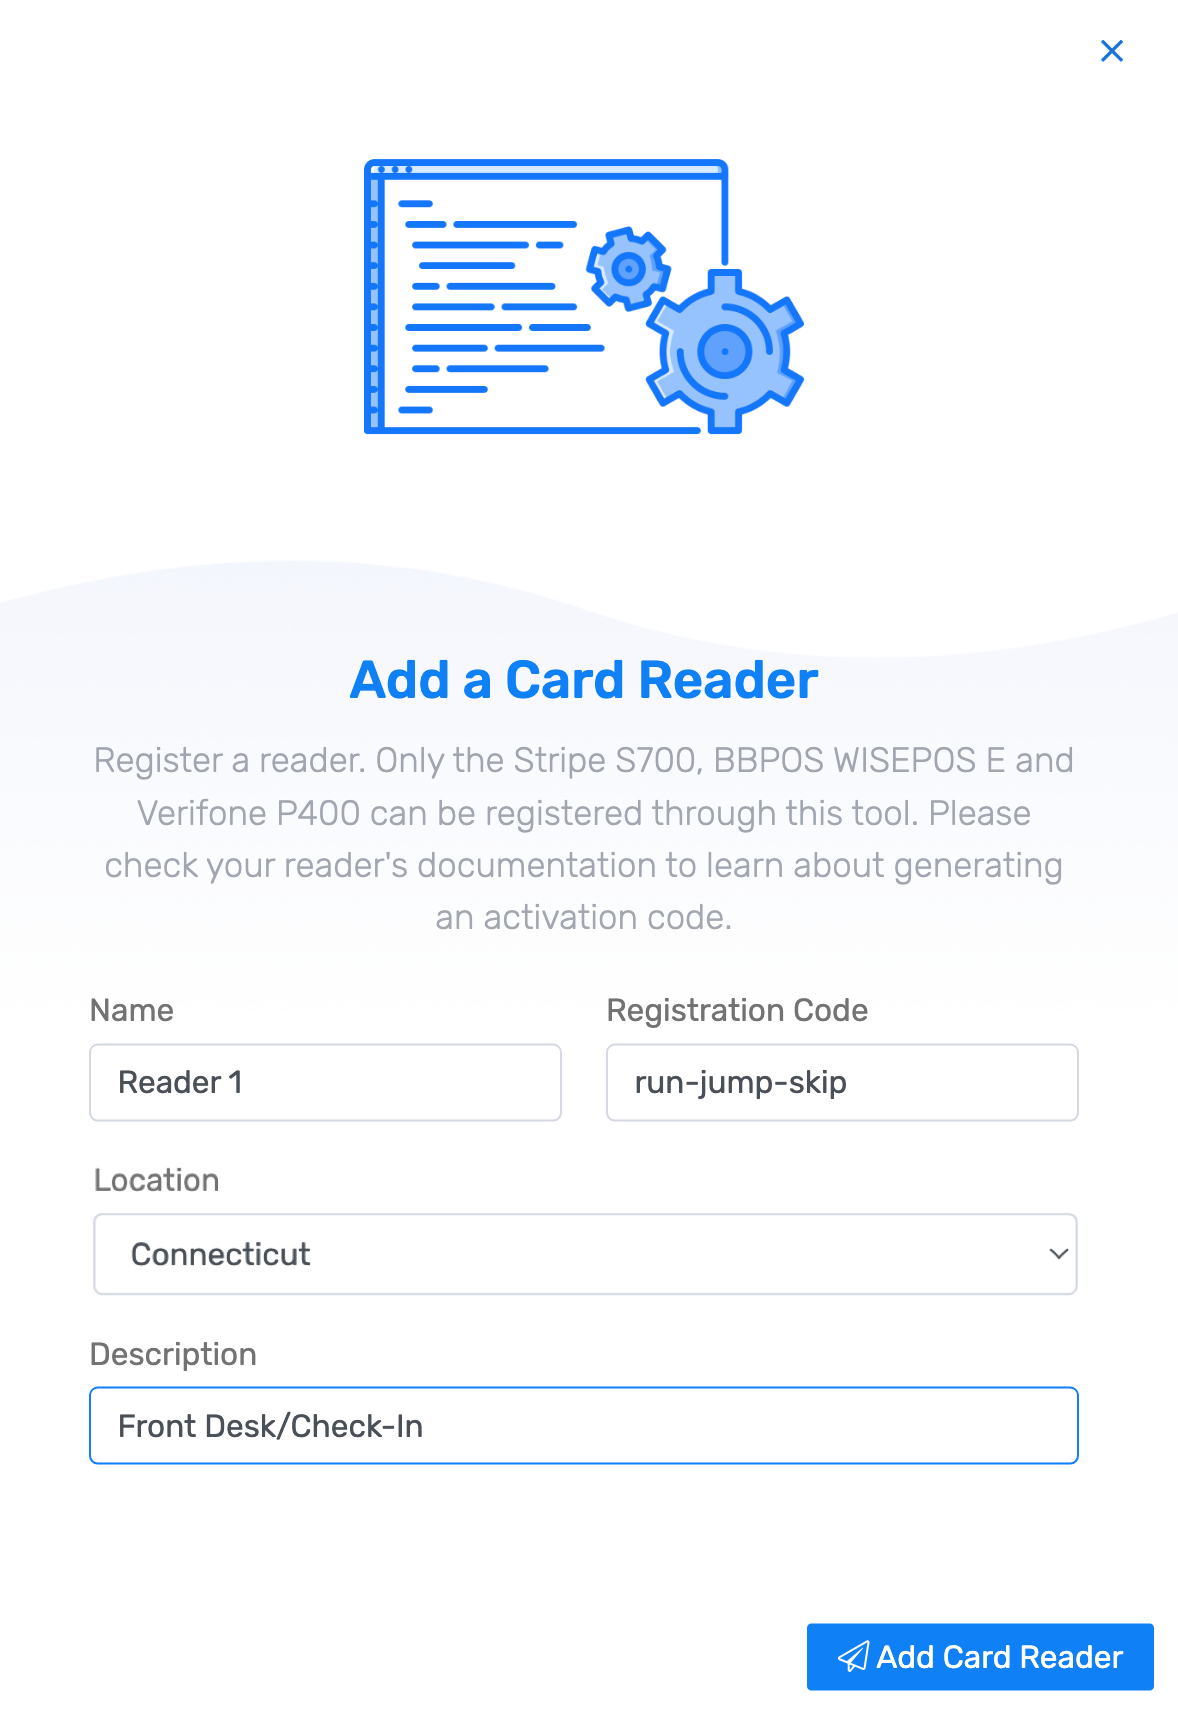
- Enter a Name for the reader — useful when you have multiple devices (e.g., "Front Desk").
- Enter the Registration Code from the reader screen.
- Select a Location. If you have multiple locations, choose the appropriate one from the dropdown.
- Optionally add a Description to identify where the reader is physically located.
- Select Add Card Reader.
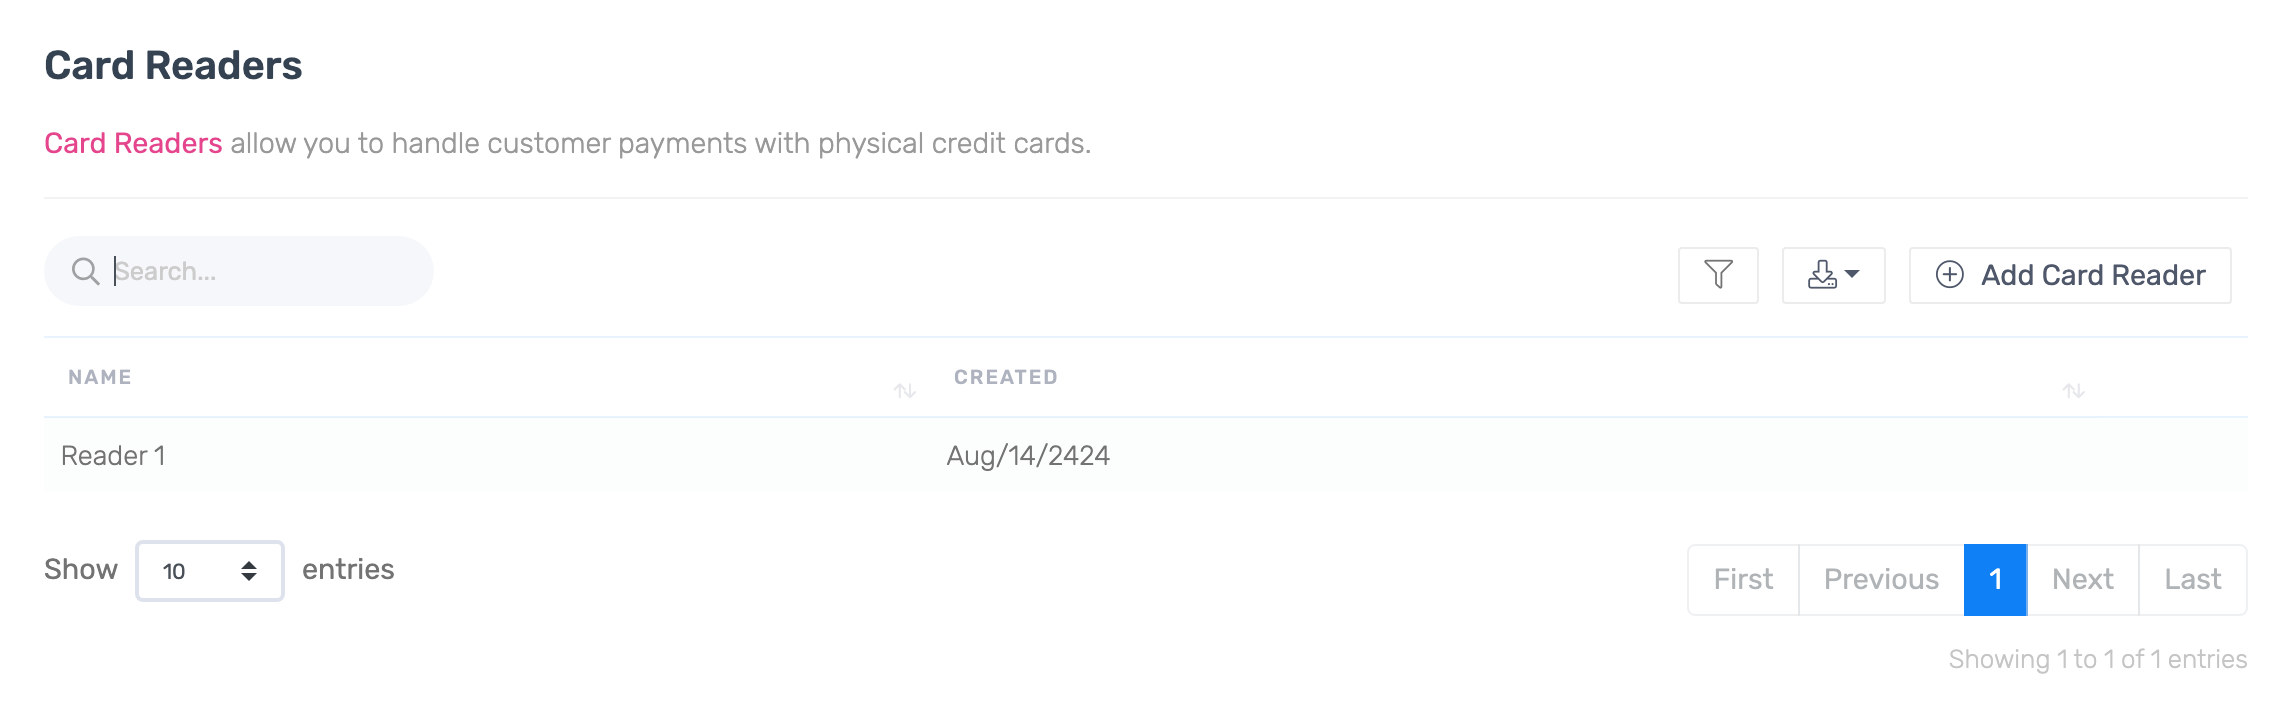
The reader appears in your account's card reader list.
Step 6: Test your reader
After adding the reader, it may update its firmware. Once it's ready, verify it can communicate with TripWorks before taking your first payment.
- Select the Sales tab from your dashboard.

- Open any trip with a balance due. If none exist, create a walk-up trip or Point of Sale order.
- Select Payments from within the trip or order.

- Select Payment.
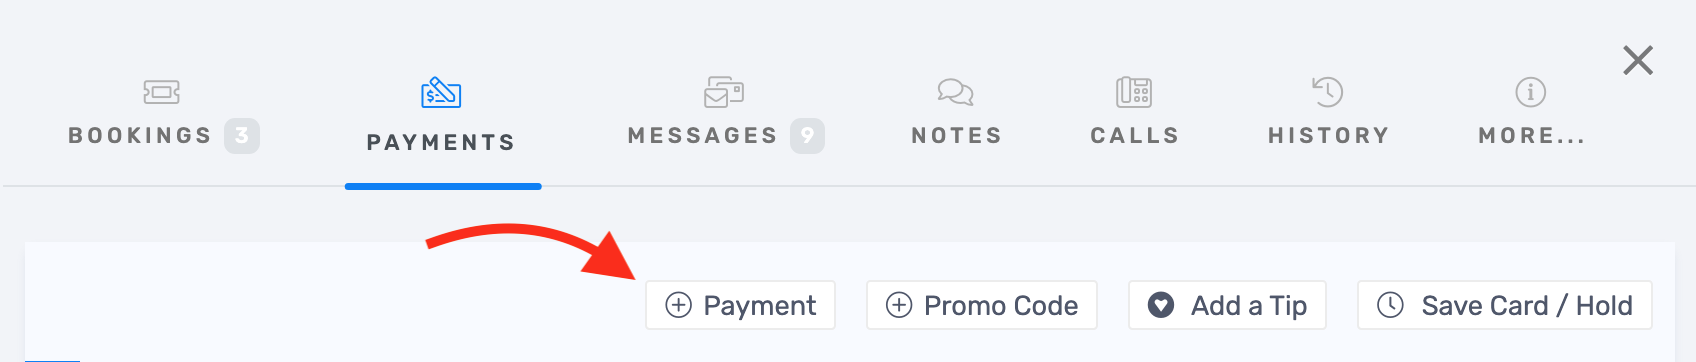
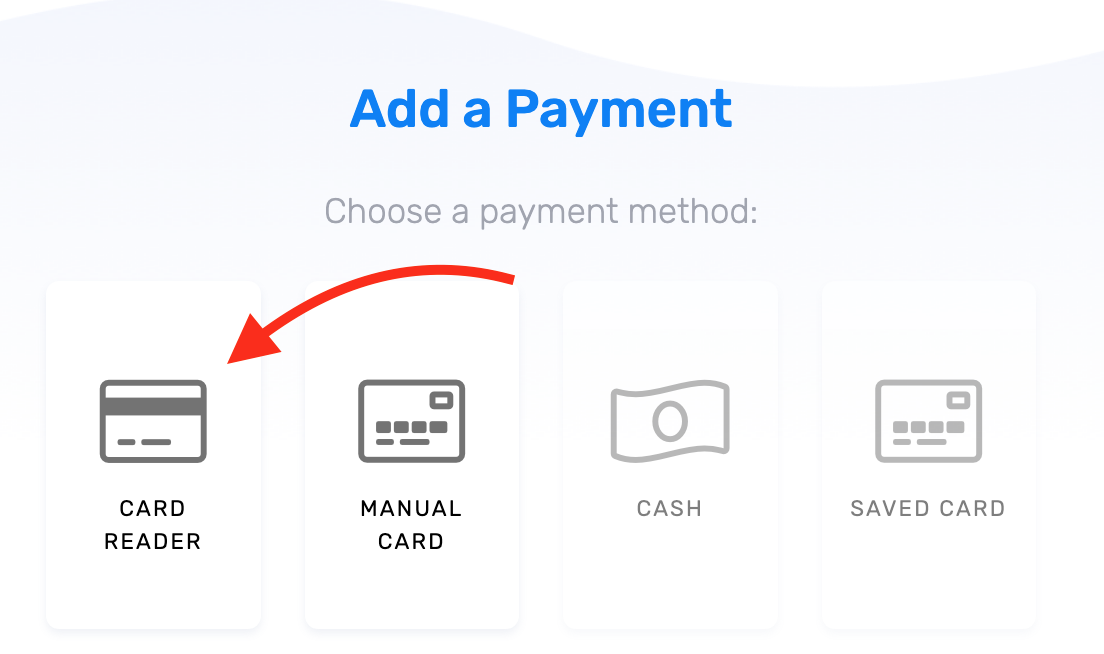
- Select Card Reader to send a payment prompt to the reader.
- Confirm the payment prompt appears on the reader screen — this verifies the reader is communicating with TripWorks.
- Cancel the prompt by clicking X in the dashboard. Your reader is ready for use.